Saving and Sharing Searches
Saving and reusing a Search
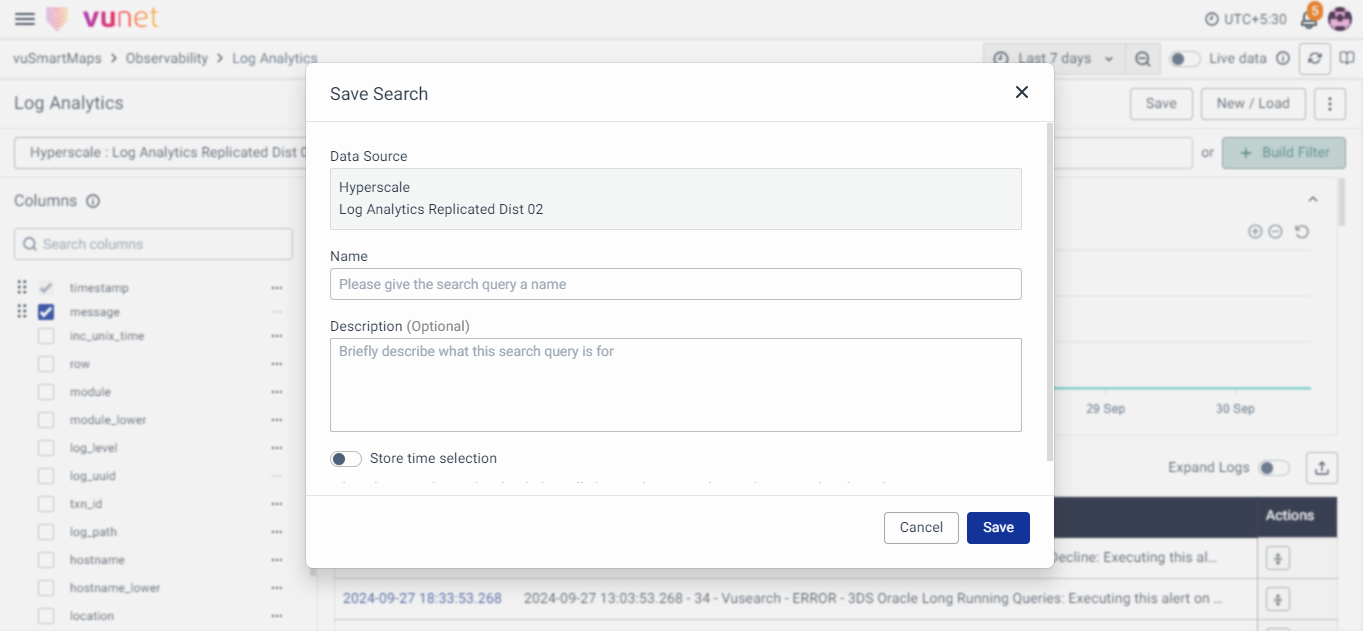
- To save a specific search, click on the Save button in the top right corner, and then select Save As.
- When you click the Save As button, a pop-up will appear. Add the name and description (optional), and you can toggle Store time with Saved Search, which saves the search with the selected time. Whenever that search query is opened, it automatically sets the saved time range by default and loads the logs for that time range.
note
When Live data is active and the 'Save Time Range' option is enabled, it will automatically save the data for the previous 15 minutes.
- Click on Save. To access the saved search, click on the New/Load button in the top right corner and then click on Load Search.
- On clicking the Load Search button, a section will appear where you can access all the saved searches. You can also directly delete the saved search from here.
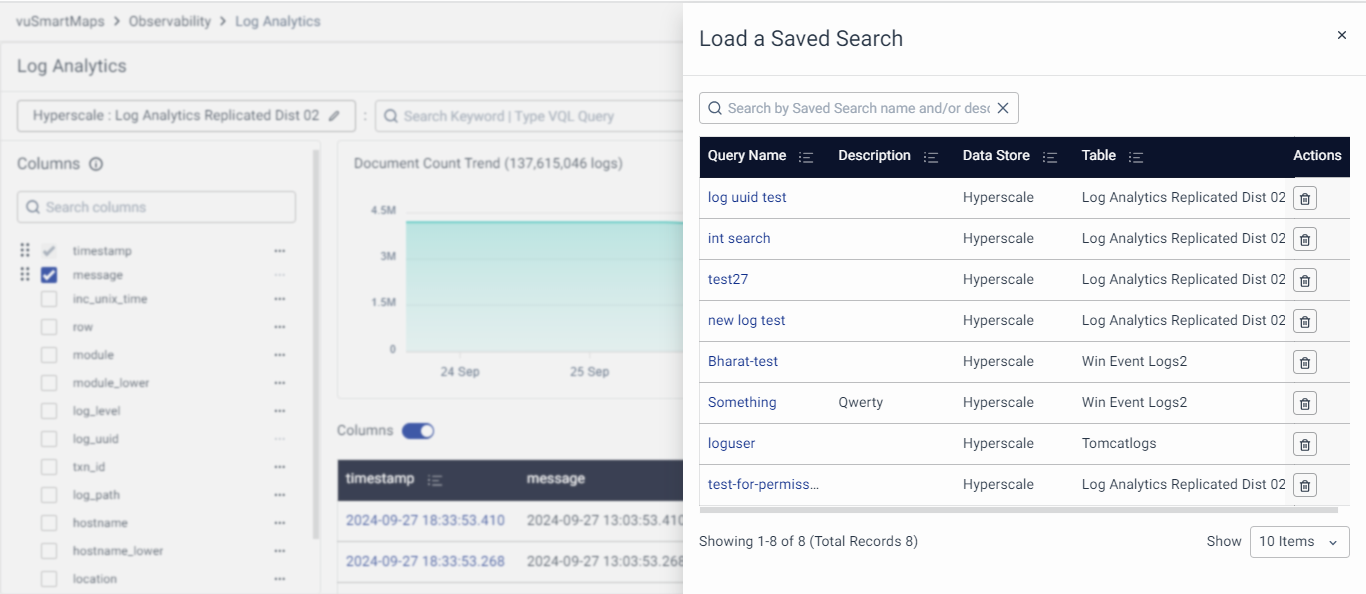
- Now, proceed to select the desired saved search listed in the table.
note
The same Saved Searches can be used to create the Data Model. Please refer to the data model section for more information.
Access Permissions of Saved Search
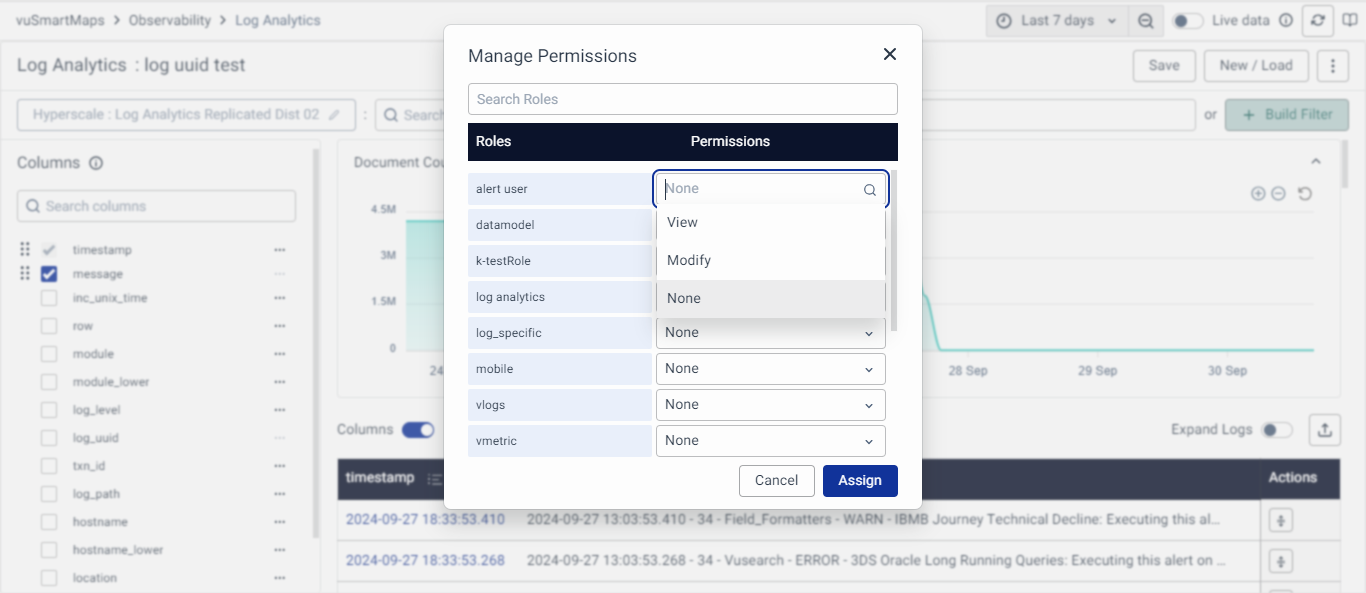
- While saving a search, access permissions can be assigned to different user roles to control the set of users having a view or modify permission to the saved search. To grant permission for the saved search, navigate to More Actions > Permissions.
- For every role, you can give 3 types of permission
- View: The selected user can only view the saved search (Save button will be disabled for these users).
- Modify: The selected can also modify and make changes to the saved search based on the object level permission granted.
- None: There are no permissions given.
Sharing a Saved Search
- To share a search view with others:
- Save the search view by using the save function within the interface.
- Other users can access this saved search view by logging in and navigating to the saved searches section.
- Once accessed, users can view the saved search, ensuring collaborative access to important log insights.
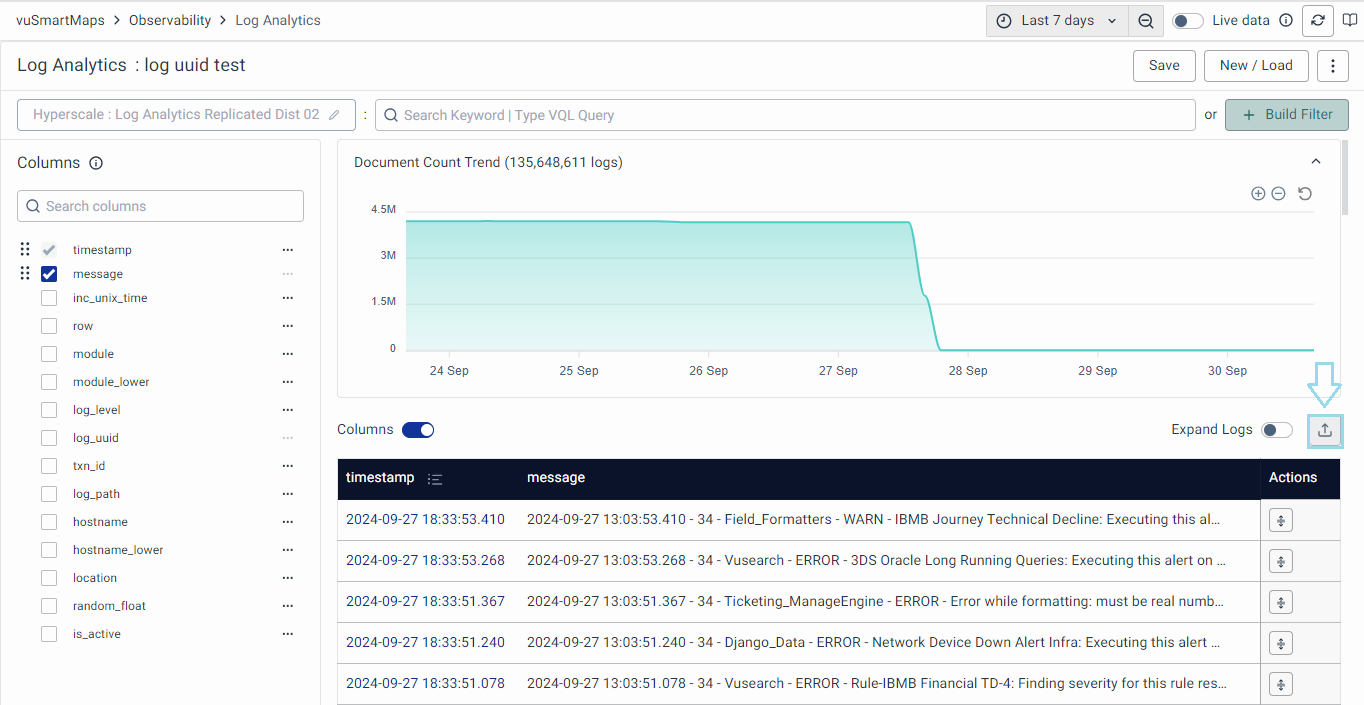
Exporting a Search
- To export the search, click on the export button.
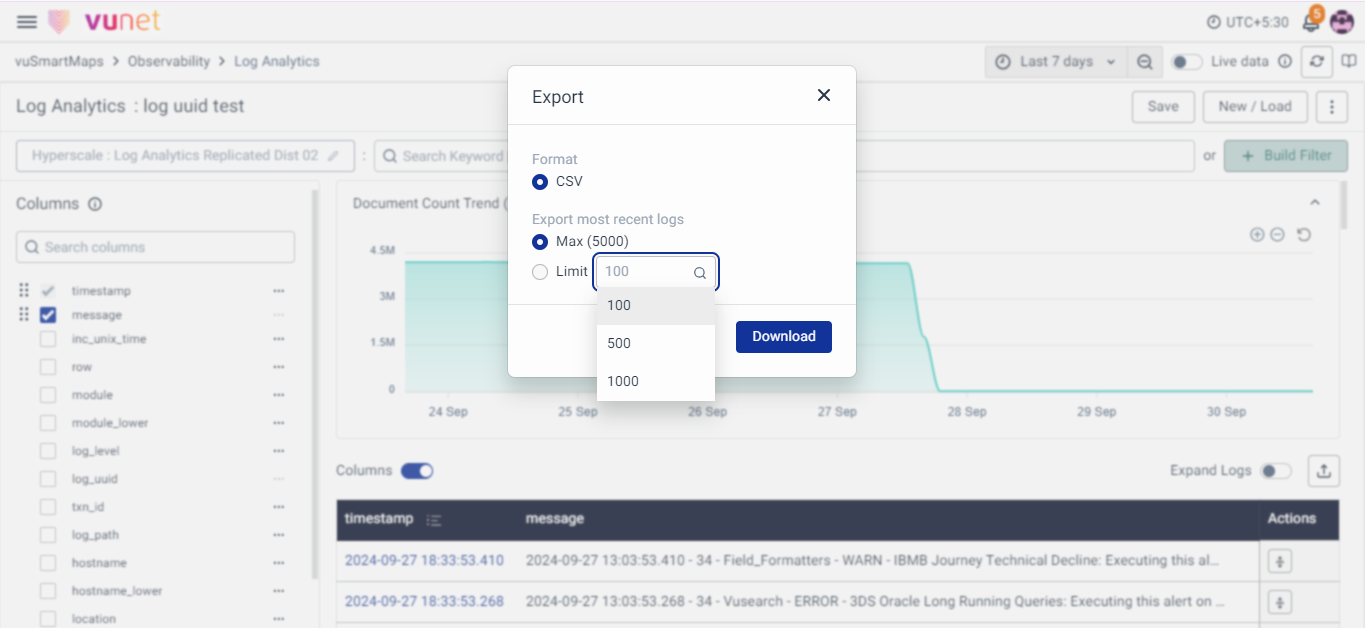
- On clicking the export button, a pop-up will appear where you can download the logs in CSV format with a maximum limit of 5000. Alternatively, you can also select the log limit to 100, 500, or 1000. Once done, click on the download button to download it to your local system.
note
Only the data from the columns selected in the table will be exported in the CSV file. If data is sorted, the exported CSV will preserve that sorting as well.
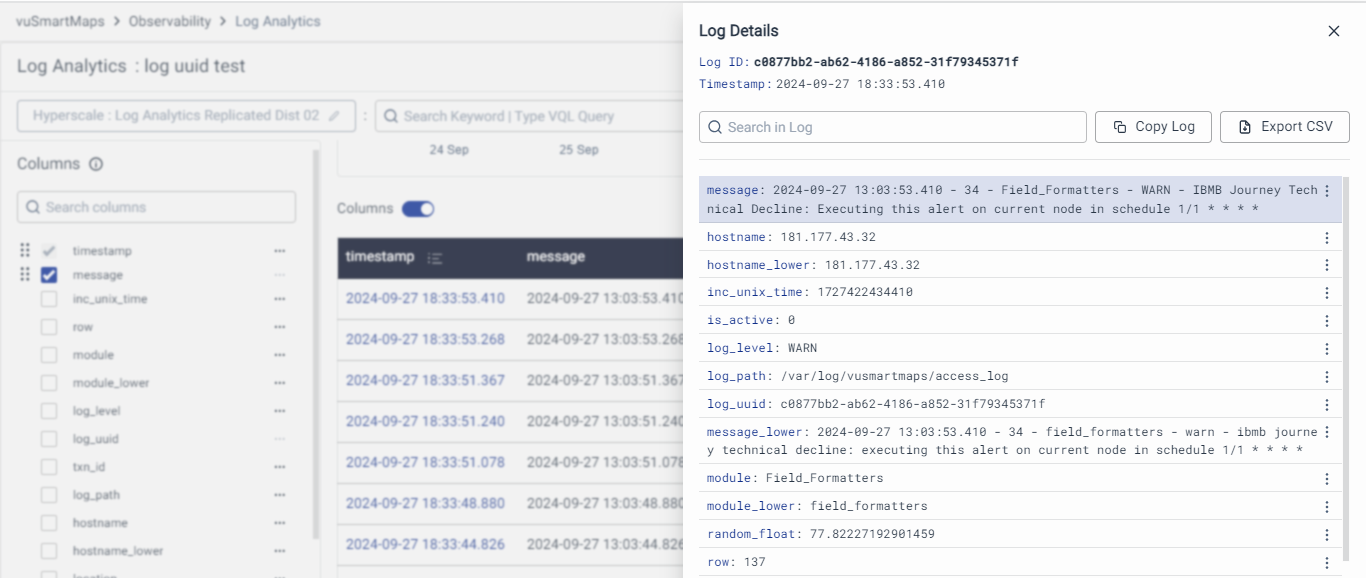
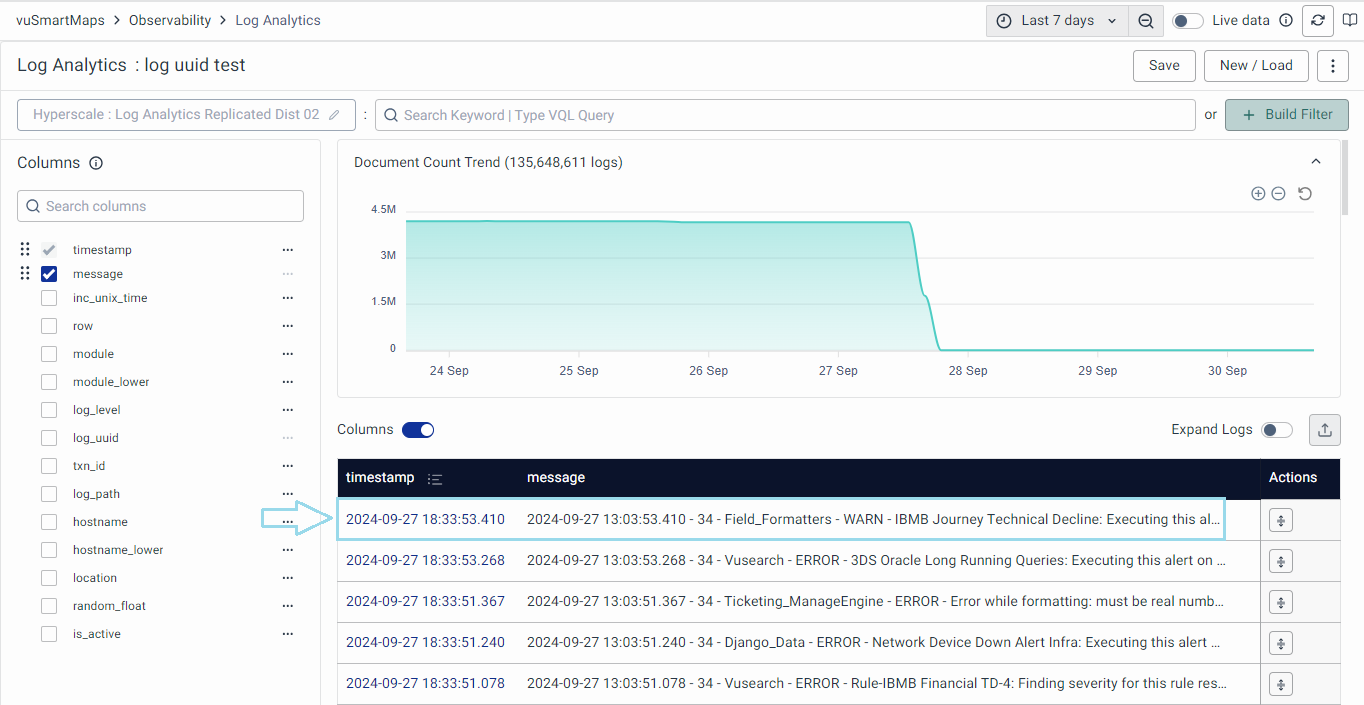
Viewing Individual Log
- For a detailed view of a particular log, click on the specific log you wish to view from the list of available logs.
- On clicking, you will see the detailed view of that particular log. If any of the fields are empty, they will be shown under the empty field section within the log details drawer. Additionally, you can make a copy of the log and export it.